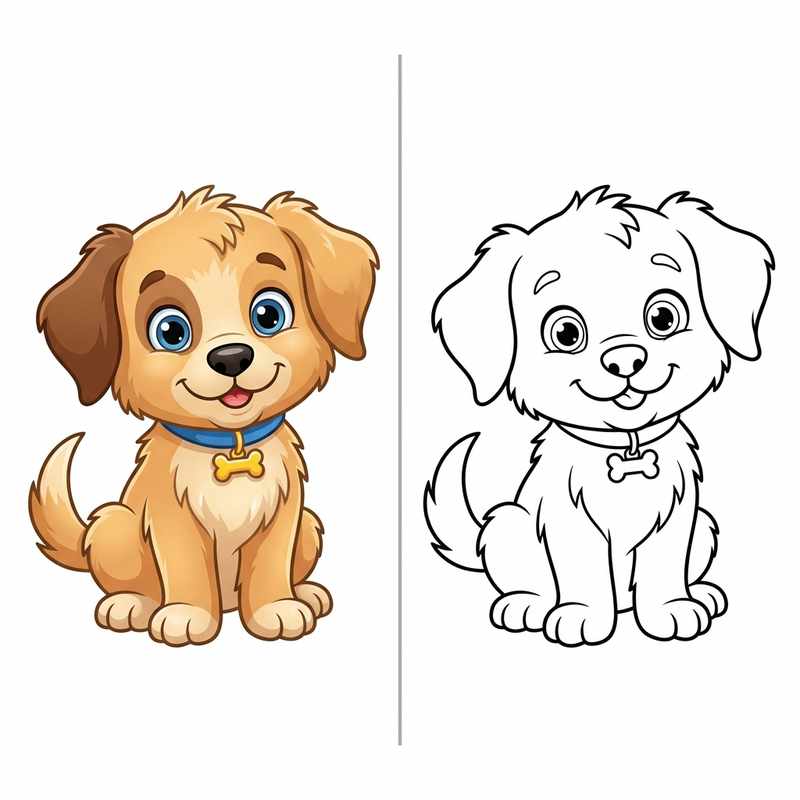
How AI Region Isolation Simplifies Tracing
In traditional graphic design apps, converting a photo into an outline requires manual bezier path tracing. If you are creating custom worksheets or a coloring book app asset, this is slow and repetitive.
AI segmenting models like SAM 2 index the boundaries of objects in your images instantly. When you upload a photo, the tool automatically calculates the contours of clothes, characters, or scenery, allowing you to isolate and modify them without drawing a single line.
The Outlining Workflow in Three Steps
- Upload your color photo or illustration to the workspace. High-contrast images work best for outline generation.
- Click on each detected region. Instead of changing it to another hue, select your target color to be pure white (#FFFFFF).
- Use the border stroke or line mode to render only the outline path. The color is replaced by white, leaving clean black contour edges. Export as a transparent PNG.
Best Practices for Clean Outline Pages
For best results, use "Replace" mode instead of "Shading" mode in Recolorify. This completely strips the inner shading gradients, leaving a flat white area that is easy to color. Make sure to zoom in to 100% and check for fine lines or stray gradients around the borders before exporting.